How to Tape a Wall for Painting and Get Perfectly Clean Lines
Learn the tape rolling technique professional painters use to stop paint bleed and get razor-sharp lines on every wall, corner, and trim edge.
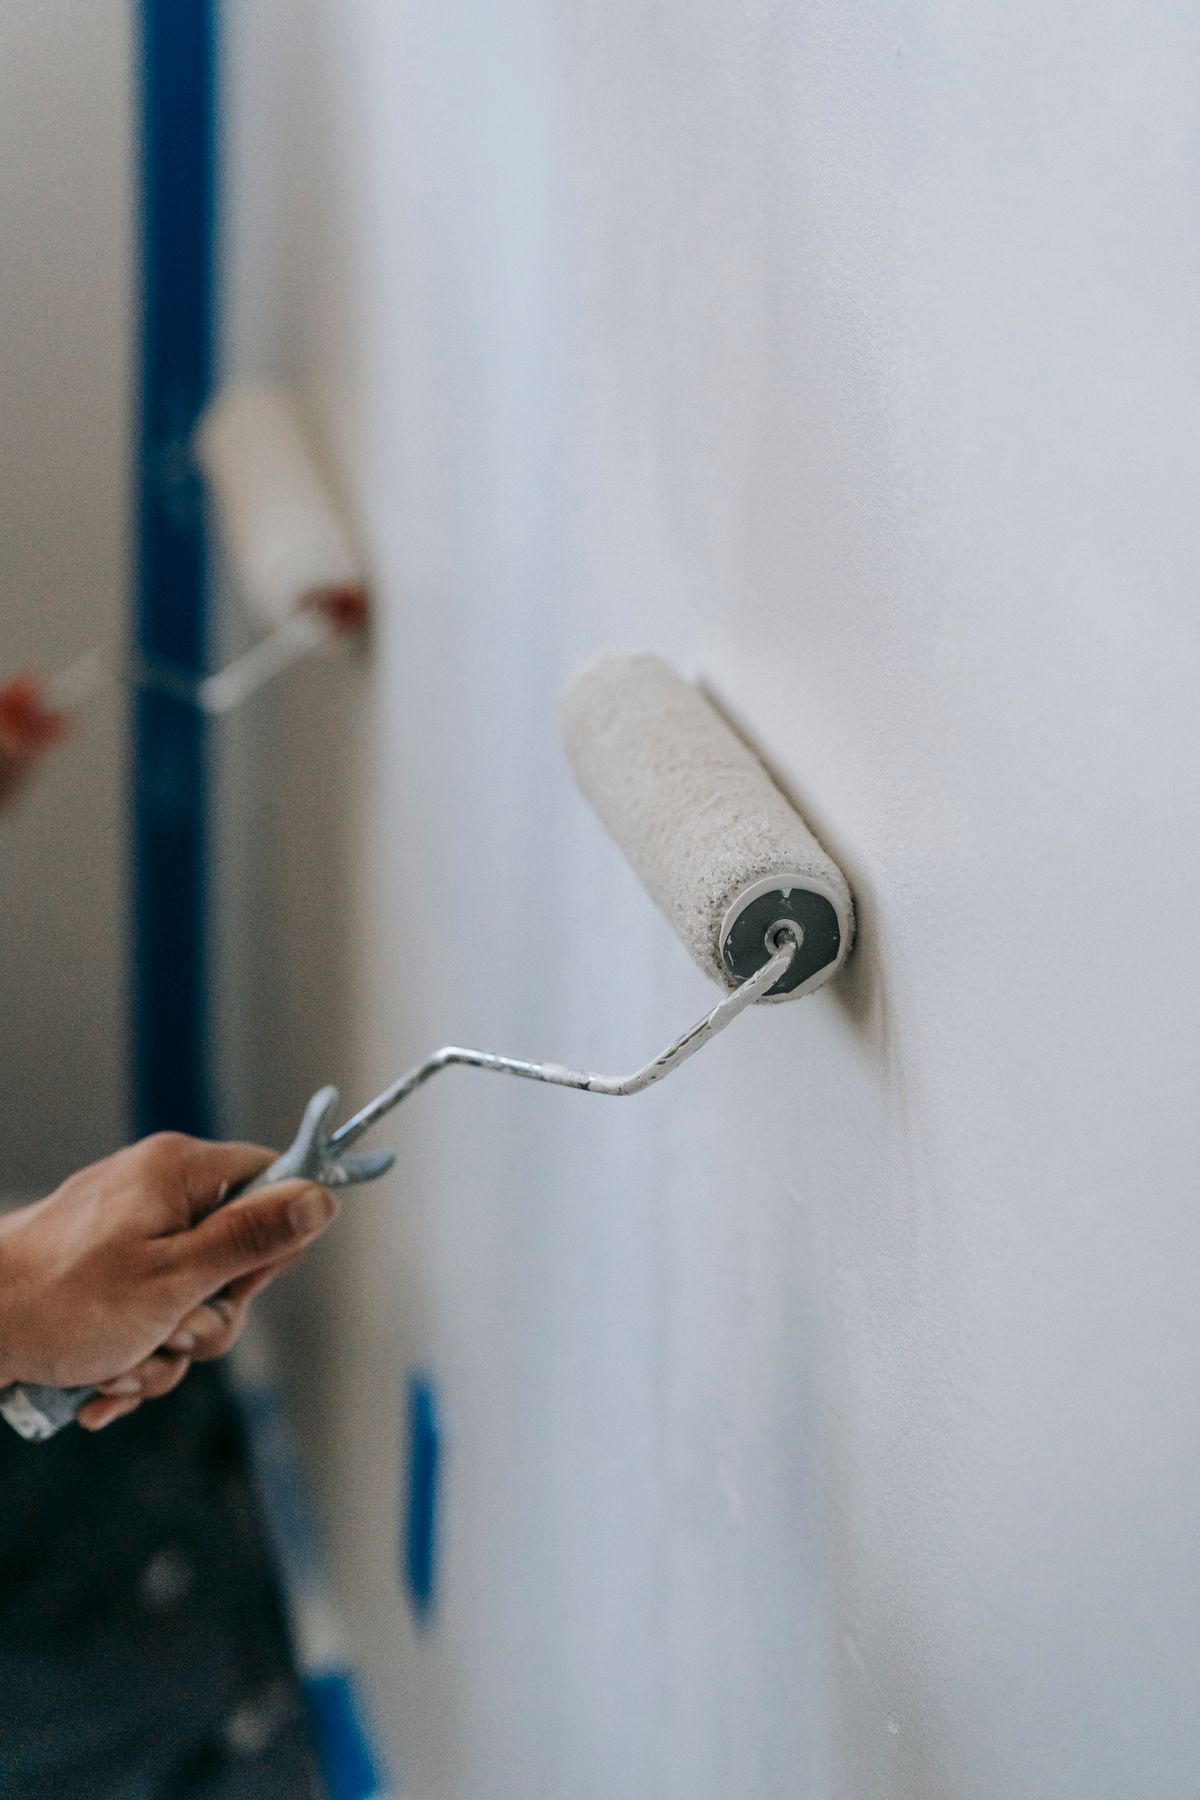
Put the tape down, paint over it, pull it off, and there's still a ragged line where color crept underneath. That's the single most common frustration with DIY painting, and it's almost never the tape's fault. It's what happens, or doesn't happen, in the thirty seconds after the tape goes on the wall.
Why Paint Bleeds Under Tape
Even a perfectly straight strip of painter's tape doesn't sit flush against a wall at a microscopic level. Texture, tiny gaps, and the natural waviness of tape itself leave small channels for wet paint to creep through, especially on textured drywall, trim with a slight profile, or any surface that isn't glass-smooth.
Tape blocks paint. It doesn't seal it. That distinction is the whole reason some people get razor-sharp lines and others get a fuzzy edge no matter how carefully they applied the tape.
Step 1: Choose Tape That Matches the Surface
Standard painter's tape works fine on smooth, previously painted walls. Textured walls, brick, or delicate surfaces like wallpaper benefit from a tape specifically designed for that surface type, since a generic tape's adhesion and flexibility aren't built for texture or fragility.
Whatever tape you choose, press it into place firmly as you apply it, working in manageable sections rather than trying to run one long strip across an entire wall without stopping.
Step 2: Roll the Tape Edge Down
This is the step almost everyone skips, and it's the one that matters most. Once the tape is positioned, run a firm, flat tool along the inside edge, a plastic putty knife, an old gift card, or even a firm fingernail works, pressing the tape down tightly against the surface.
This is sometimes called burnishing, and other times just rolling the tape, but the goal is the same either way: close up the microscopic gaps between the tape and the wall so paint has nowhere to creep through. On textured walls, go over the edge two or three times rather than once, since a single light pass often misses the low points in the texture.
Step 3: Seal the Edge With a Thin Base Coat
Here's the trick professional painters rely on for genuinely bleed-proof lines. After rolling the tape down, apply a thin coat of your existing wall color (the color already underneath the tape) directly along the taped edge, and let it dry fully.
If any paint does creep under the tape during this step, it's the same color as what's already there, so it's invisible. That thin coat also physically seals the tape edge shut. Once it's dry, your actual topcoat color goes on with essentially no risk of bleed, even on a textured surface.
Step 4: Apply Your Paint Color
Paint as you normally would, but avoid letting paint pool heavily right against the tape line. A thin, even coat along the edge, built up gradually rather than applied thick in one pass, puts far less pressure on the seal than a heavy, wet buildup sitting directly against the tape.
If you're painting a full wall, our Wall Paint Calculator will tell you exactly how much paint you need before you start.
Step 5: Remove the Tape at the Right Time
Pull the tape while the final coat is dry to the touch but not fully cured, generally the same day you painted, rather than waiting days later. Fully cured paint can tear or chip along the tape line as it's removed, while paint that's still slightly green releases more cleanly.
Pull at a 45-degree angle, back over itself, rather than straight up and away from the wall. This angle helps slice a clean edge rather than dragging and potentially lifting the fresh paint film.
Common Mistakes
Skipping the rolling step entirely. This is the single biggest reason for bleed. Tape that's simply pressed on by hand, without a firm tool run along the edge, almost always leaves gaps on anything but a perfectly smooth surface.
Removing tape too late. Waiting until the paint is fully cured, often several days, significantly raises the odds of chipping or tearing the edge during removal.
Letting paint pool against the tape. A heavy, wet buildup right at the taped edge puts more pressure on the seal than it can handle, even with proper rolling.
Using the wrong tape for a textured or delicate surface. Standard tape on heavy texture, or an aggressive adhesive on wallpaper or fresh paint, causes problems that better-matched tape avoids entirely.
Reusing tape that's lost its tack. Tape that's been sitting half-used in a drawer for months often doesn't adhere well enough to seal properly, regardless of how carefully it's rolled.
Frequently Asked Questions
Do I really need the base coat sealing step, or is rolling the tape enough?
Rolling alone helps significantly and is often enough on smooth walls. On textured surfaces, or whenever you want a guaranteed zero-bleed result, the thin base coat seal is the difference between a good edge and a genuinely perfect one.
What should I use to roll the tape edge if I don't have a putty knife?
A firm plastic card, like an old gift card or expired membership card, works nearly as well, as does a firm fingernail for shorter edges. The tool matters less than applying consistent, firm pressure along the entire edge.
How long should I wait before removing the tape?
Generally the same day, once the final coat is dry to the touch but before it's fully cured, which for most paints takes considerably longer than drying time. Check your specific paint's label for cure time guidance.
Can I reuse painter's tape if I peel it off carefully?
It's not recommended. Once tape has been applied and removed, its adhesive has usually picked up dust or lost tack, which makes it far less reliable for a second seal.
Get a Clean Edge Every Time
The tape itself matters less than what happens after you apply it. Roll the edge down firmly, seal it with a thin base coat if you want a guaranteed result, and remove it at the right time, and the ragged line that usually comes with DIY painting simply doesn't show up.
If you haven't already, our guide on how to paint a wall covers the full process from prep to the final coat, and the Wall Paint Calculator will tell you exactly how much paint to buy before you start.
SIP Top-Up Calculator
Put what you just read into practice — calculate your own numbers in seconds.
Open Calculator